
Set up double opt-in
Check whether a list uses double opt-in. Click Lists → ⁝ → Edit list.
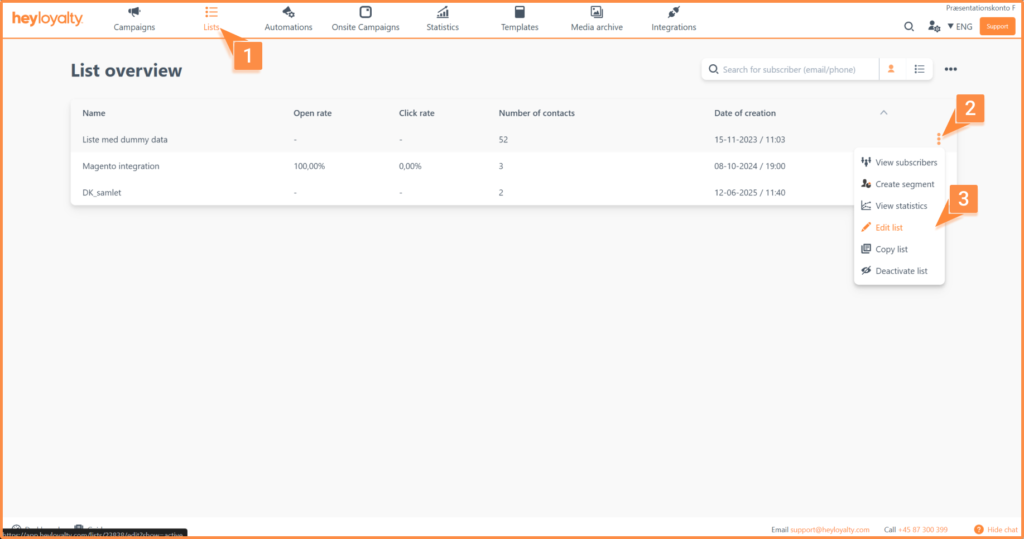
Now find the Double opt-in field in the list and see if it says Enable double opt-in or Don’t use double opt-in.
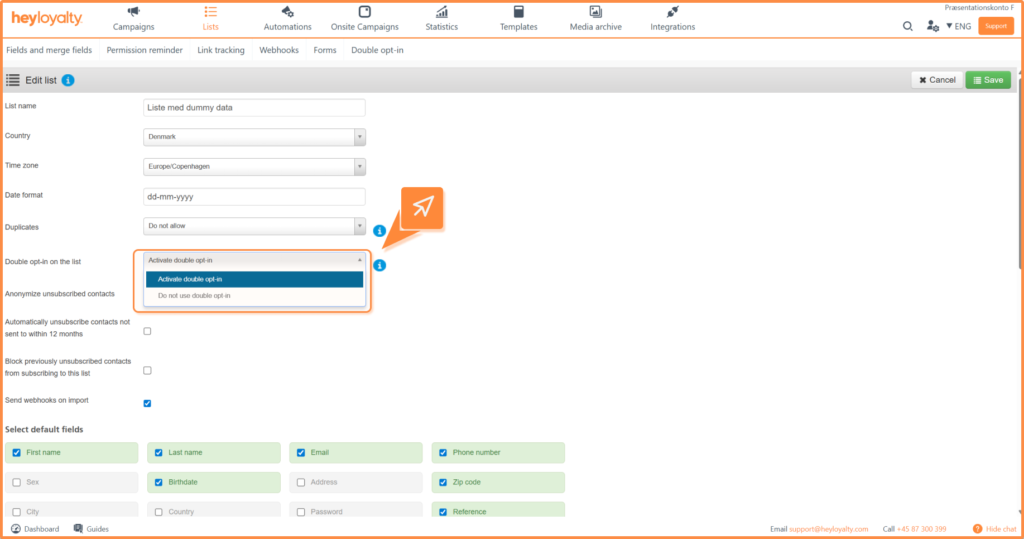
If the list is set to Activate double opt-in, you need to set up your double opt-in email.
Set up your double opt-in by clicking Automations → Create new automation → Create flow.
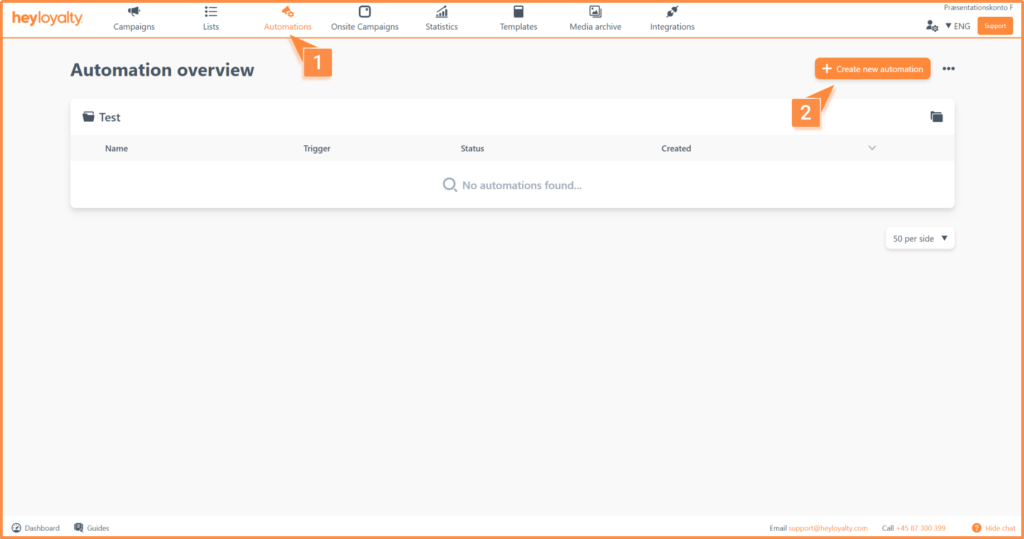
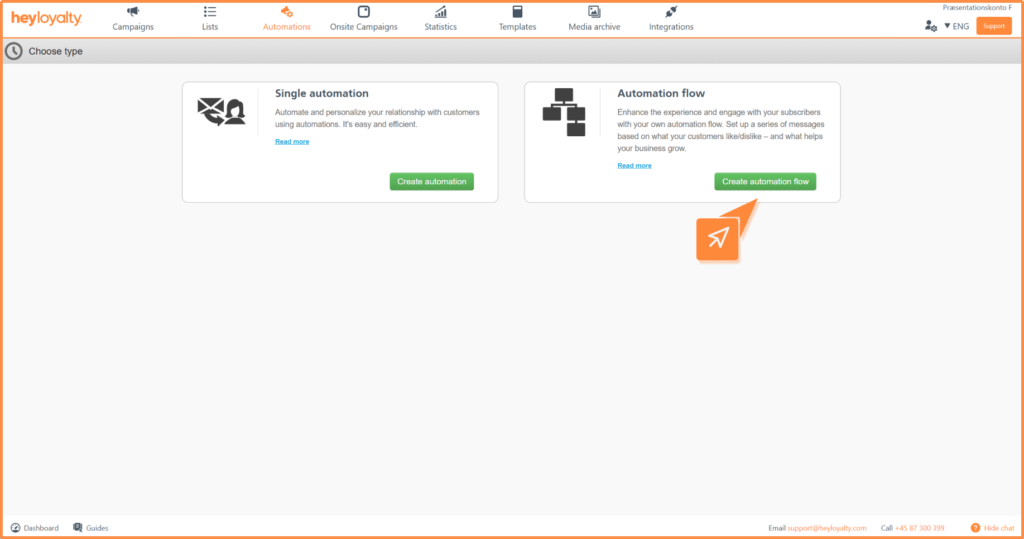
Name your flow and select a list.
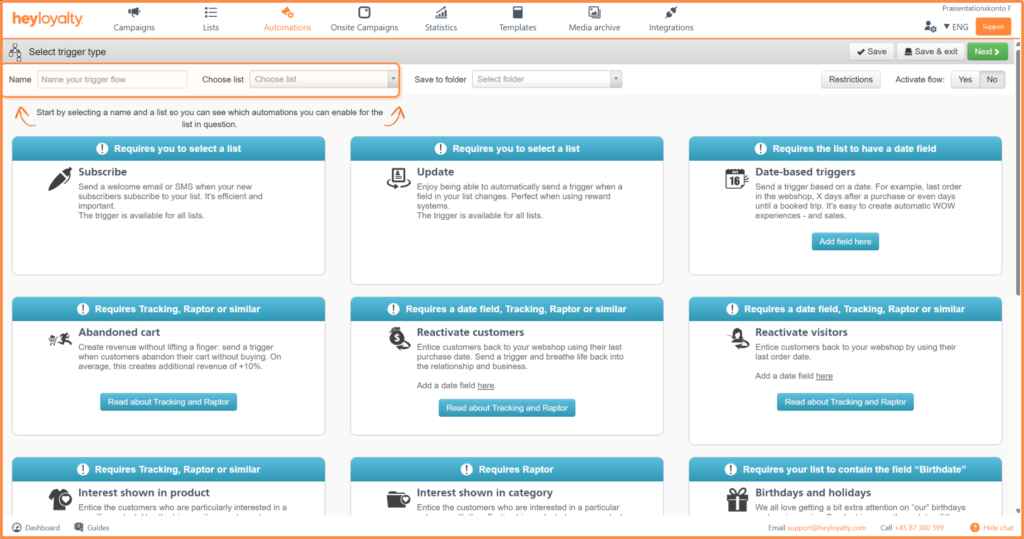
Then select Set trigger at Subscribe.
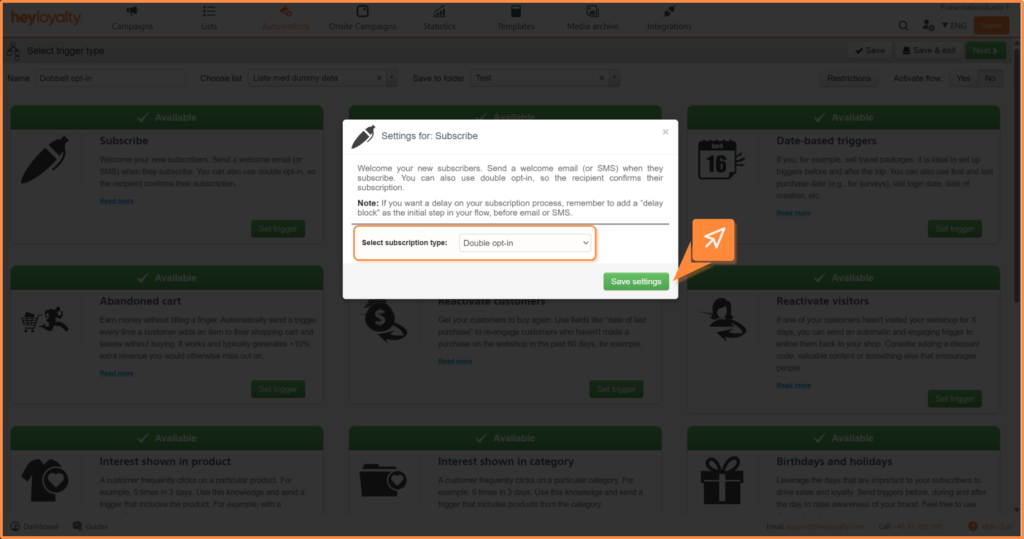
Change Select subscription type to Double opt-in.
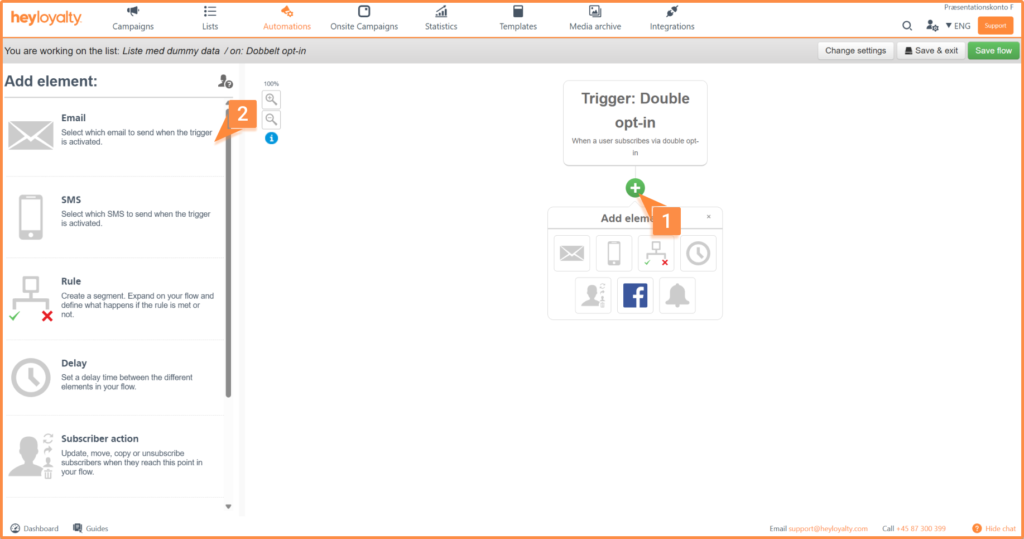
You will now see an empty flow. Start building your flow by clicking + and inserting the desired element, which in this case is Email.
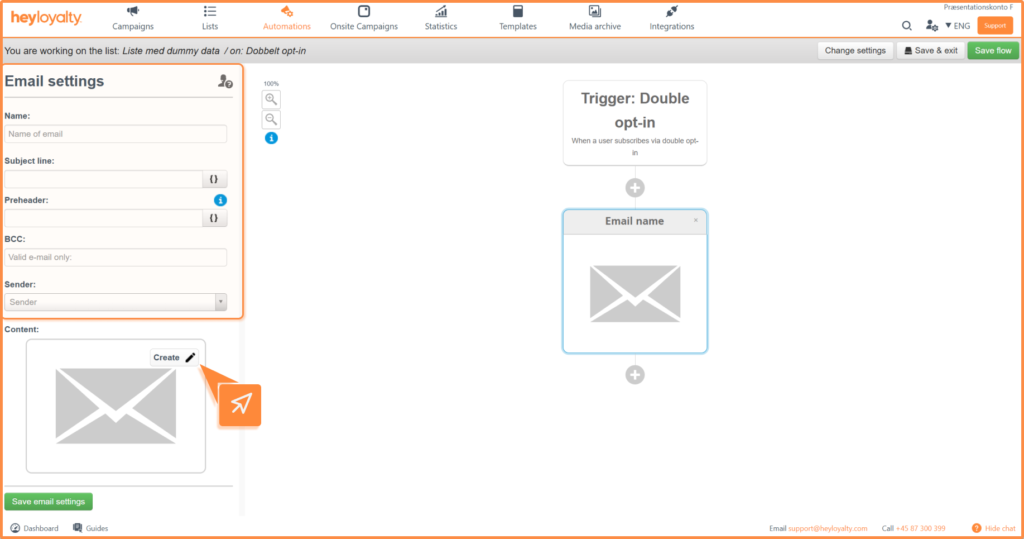
Fill in the information and click Create.
Choose the desired email template and design your email.
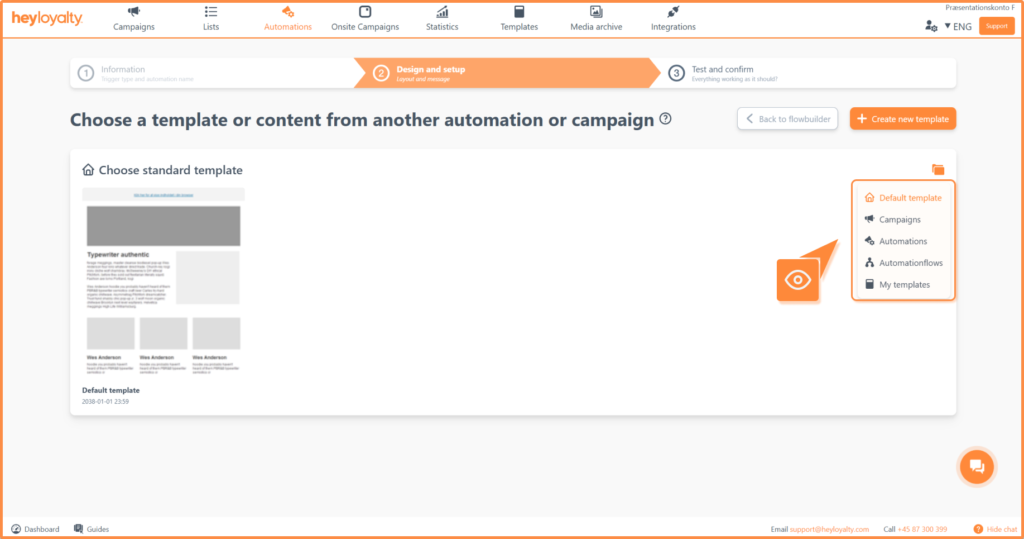
To add the double opt-in link, you need to insert it into a text block. Click { } → Member → Double opt-in.
You will now see a merge field in your email.
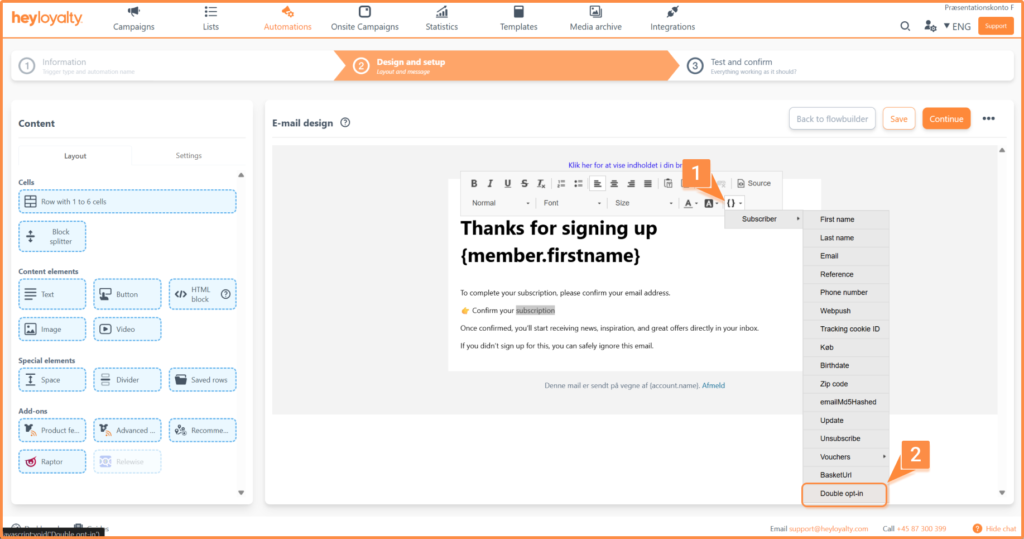
The link on the button must always be {member.doubleOptin}, and Heyloyalty then automatically creates the correct, personalized link for each recipient.
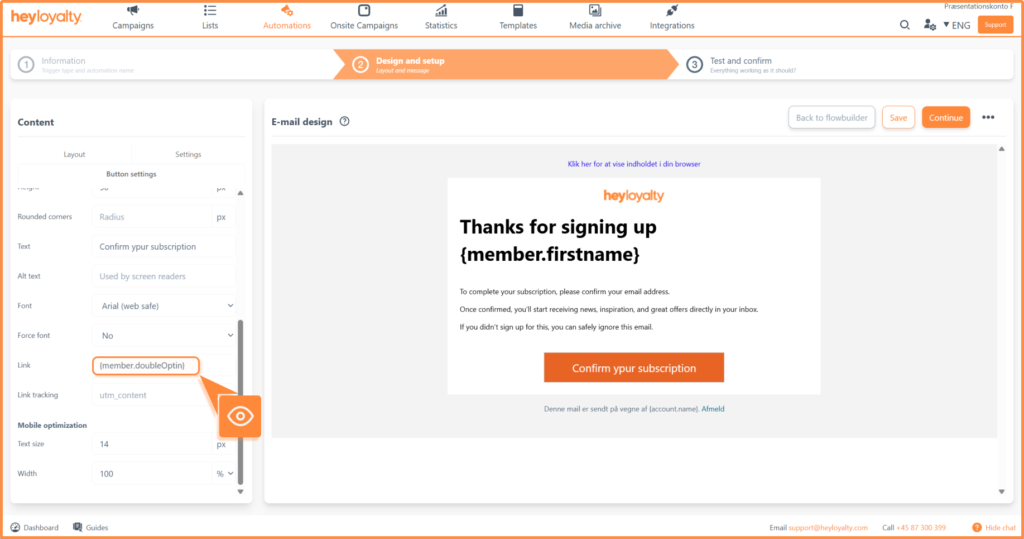
Click Continue → Continue to flowbuilder → Save & Exit.
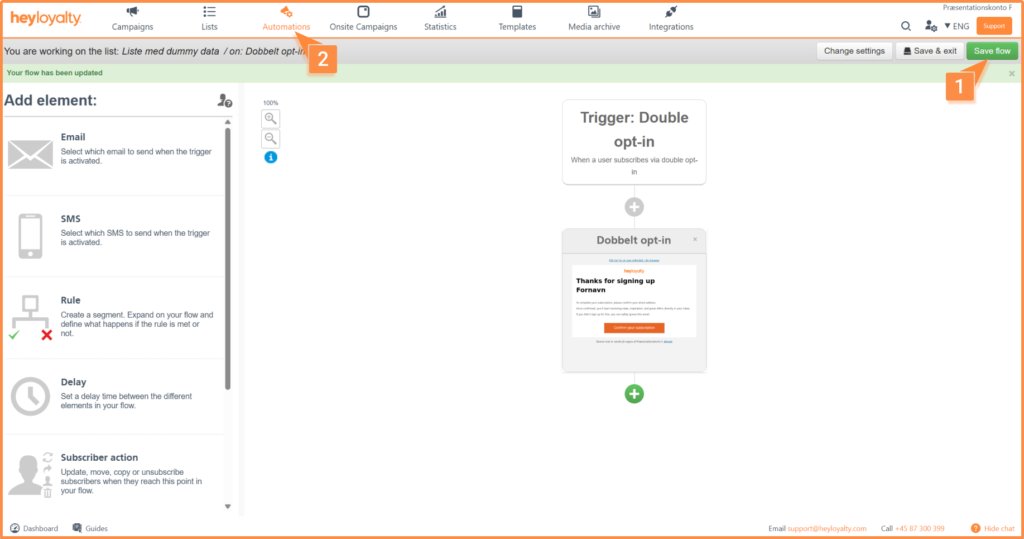
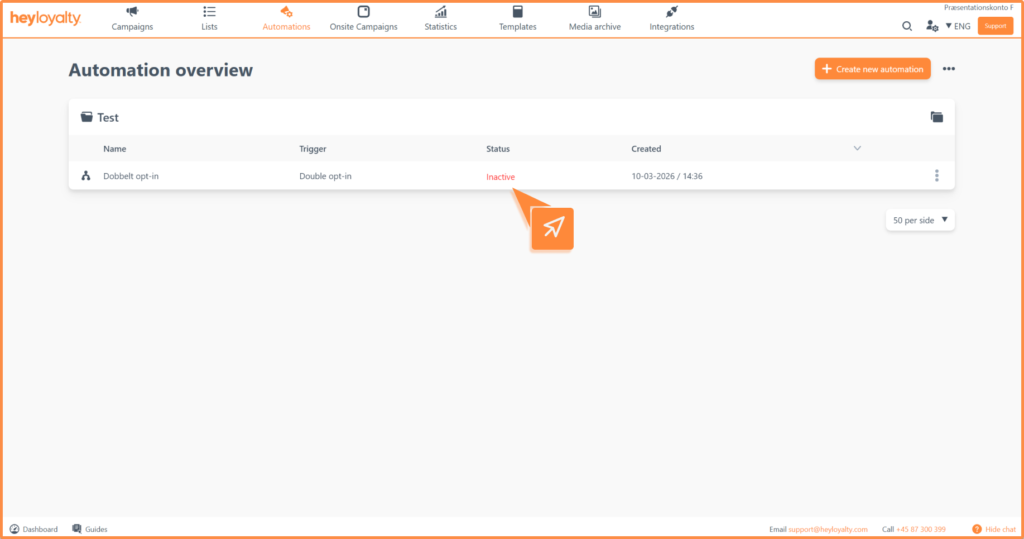
After you’ve designed your email and saved your flow, you can activate the flow by clicking Inactive in the Status column of your automation dashboard.
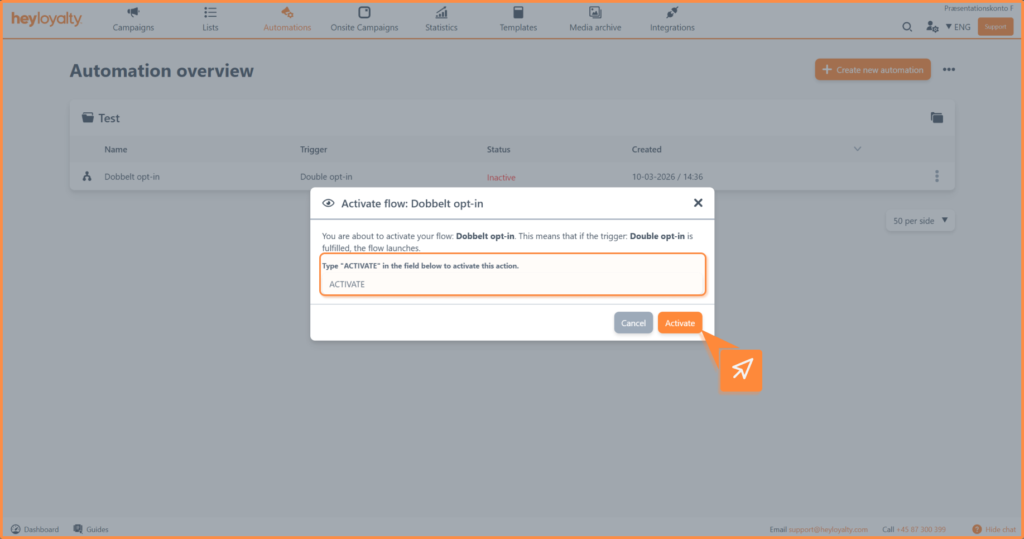
Type Activate in the box and click Activate.

If you need information or help that you cannot find here on the guide site, you are always welcome to contact our support!
support@heyloyalty.com